Tissue (Blender add-on)
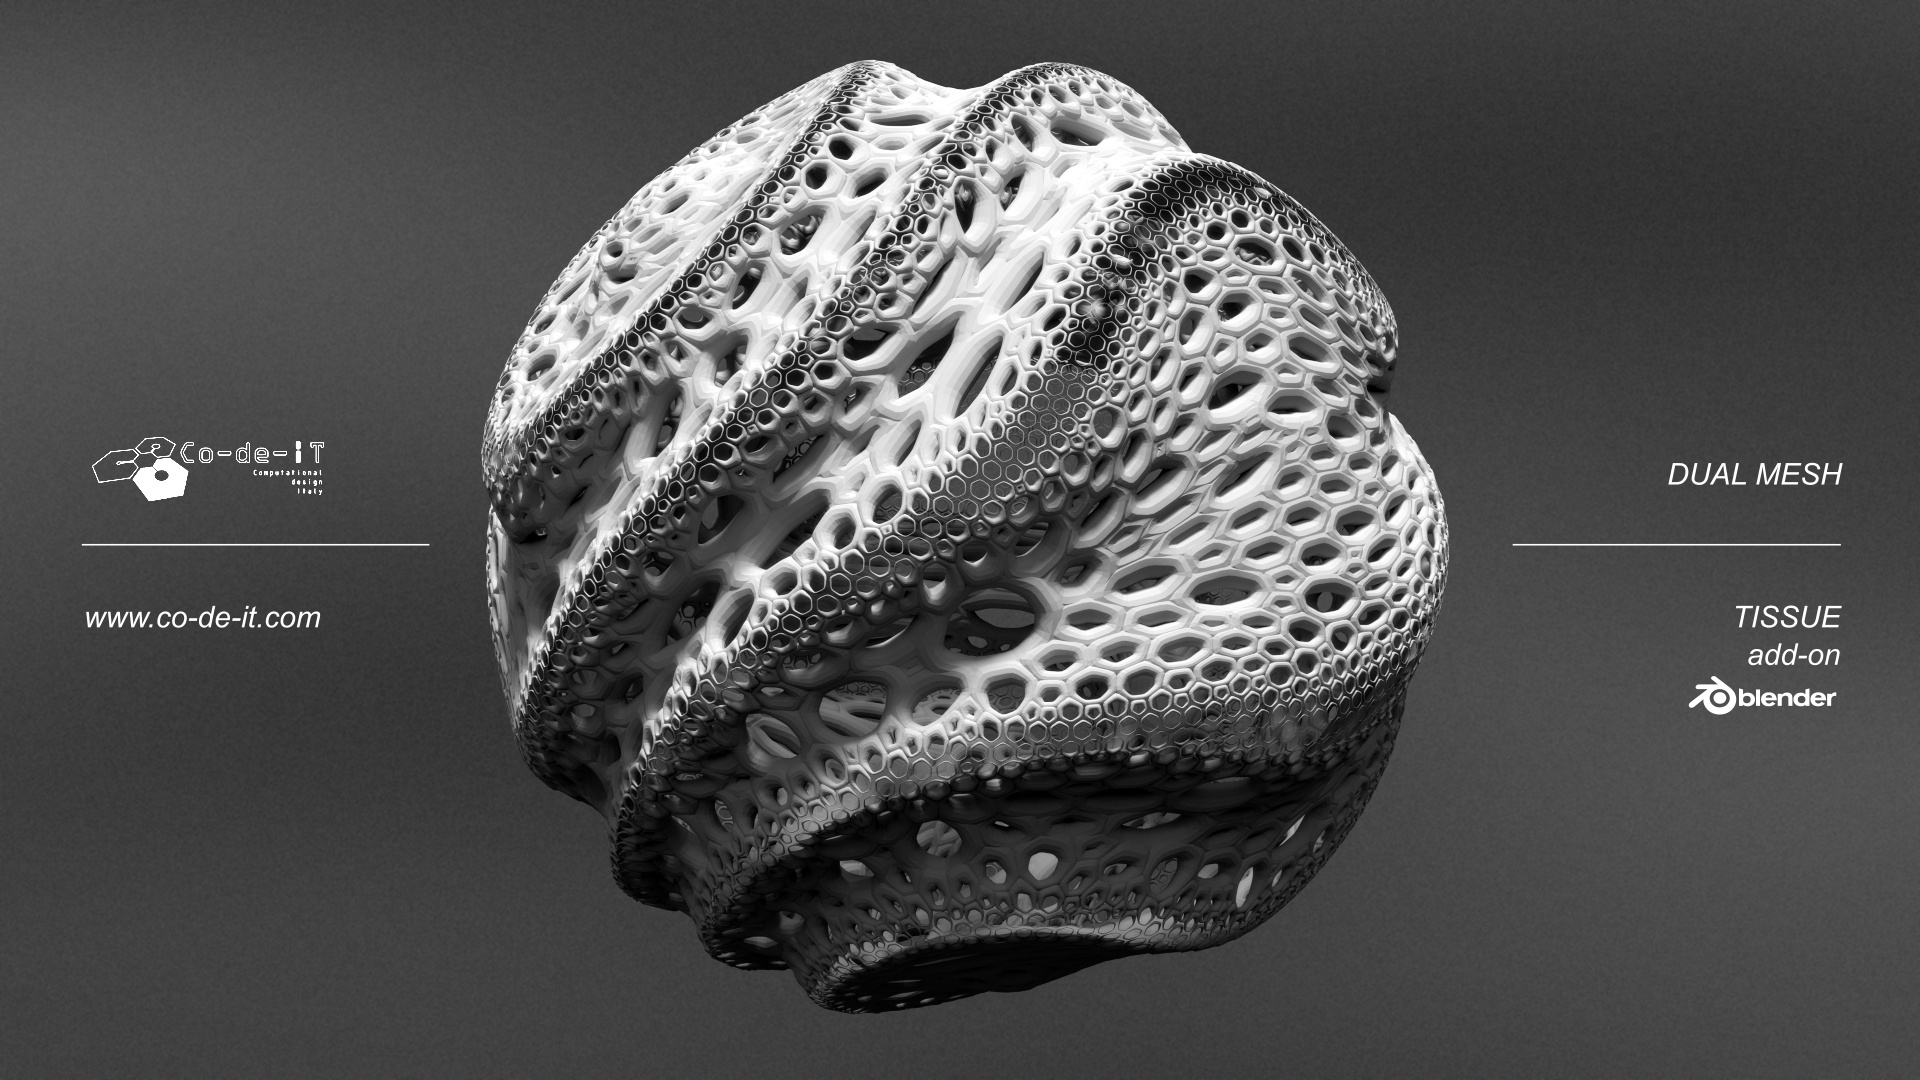
Tissue add-on for Blender is developed by Co-de-iT for promote the use of Blender in Computational Design. Follow post and updates on the facebook page Blender for Computational Design
INSTALLATION
- Download Tissue from Github
- Start Blender. Open User Preferences, the addons tab
- Click “install from file” and point Blender at the downloaded zip
- Activate Tissue add-on from user preferences
- Save user preferences if you want to have it on at startup.
|
DESCRIPTION
|
The add-on is composed by different tools for computational design.
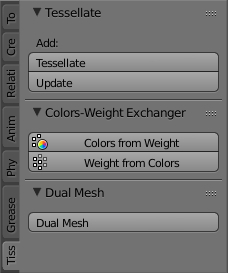
- Tessellate tool allows the user to copy a selected object (Component) on the faces of the active object (Generator), adapting its bounding box to the shape of quad-faces. Once the Tessellate button was pressed, then more options will appear in the Operator parameters. Update allows you to update the active the Tessellated mesh according to Component and Generator changes. You can also change the parameters of tessellation.
- Colors-Weight Exchanger consists of two tool: Colors from Weight and Weight from Colors that allow the user to convert the active vertex color to vertex group and vice-versa
- Dual Mesh modify the selected meshes creating dual meshes. Dual Mesh output is a polygonal mesh derived from the triangular mesh. Quadrangolar meshes are automatically converted to triangular before.
|
 |
USAGE
|
TESSELLATE
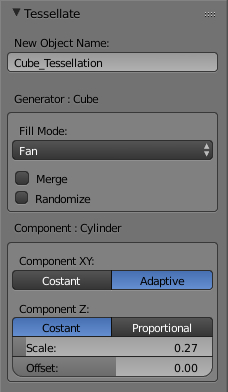
- New Object Name: specify the name of the new object generated by Tessellate operator.
- Fill Mode: allows to chose the filling method according to user preferences. For quadrangolar meshes ‘Quad’ option is preferable, while for polygonal meshes ‘Fan’ works better.
- Merge: removes duplicated vertices according to threshold value.
- Randomize: create a random of the components according to seed.
- Component XY: allows to chose how the component object is parametrized. Default is ‘Adaptive’ that automatically calculate the Bounding Box of the object. For more control chose ‘Costant’, that consider a domain in which X and Y go from 0.0 to 1.0.
- Component Z: allows to chose how the thickness is calculated. Default is ‘Costant’ that use the z of the component. Using ‘Proportional’ the Z of generated components changes according to generator faces area.
(WARNING: using ‘Proportional’ can create some openings if used with Merge options.)
- Scale: allows to change thickness of the generated mesh.
- Offset: allows to offset the thickness from the center.
|
 |
UPDATE
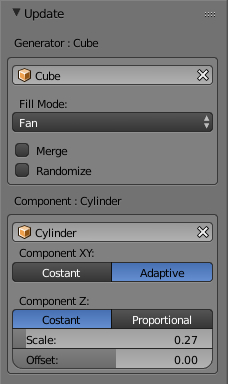
The options for the Update operator are the same of Tessellate. Furthermore, it allows to change Generator object and Component object. |
 |
|
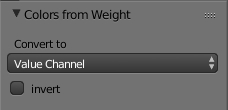
COLORS FROM WEIGHT
- Convert to: allows to chose the following options: ‘Value Channel’ (default), ‘Red Channel’, ‘Green Channel’, ‘Blue Channel’ and ‘False Color’.
- Invert: invert the values readed from Vertex Weight.
|
 |
|
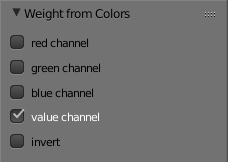
WEIGHT FROM COLORS
- Red Channel: add a vertex group derived to red cahnnel of the active Vertex Color.
- Green Channel: add a vertex group derived to green cahnnel of the active Vertex Color.
- Blue Channel: add a vertex group derived to blue cahnnel of the active Vertex Color.
- Value Channel: add a vertex group derived to value cahnnel of the active Vertex Color.
- Invert: invert the values readed from Vertex Weight.
|
 |
|
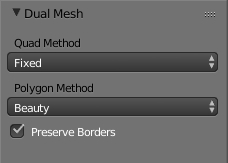
DUAL MESH
- Quad Method: methods for splitting the quads into triangles. (inherited from Triangulate Faces operator)
- Polygon Method: methods for splitting the polygons into triangles. (inherited from Triangulate Faces operator)
- Preserve Borders: prevent alteration of the open boundaries of the mesh.
|
 |
EXAMPLES
Tissue – Tessellate Operator (Blender’s Add-on) from Alessandro Zomparelli on Vimeo.

Tessellate example

Tessellate example
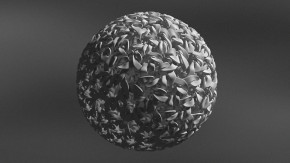
Tessellate example
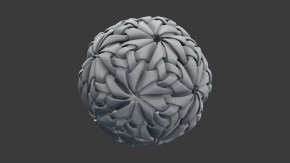
Tessellate example – Fan filling mode
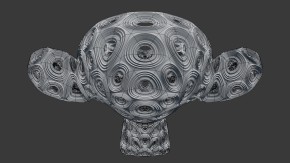
Tessellate example – Fan filling mode
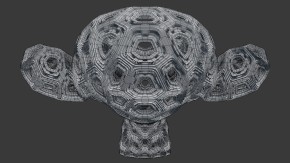
Dual Mesh + Tessellate example – Fan filling mode


Great Work you did here! is there a way to use materials when tesselating?
Hi, your add on idea is so great…
I tr it but blender doesn’t. Run in Vwrsion 2.75 or 2.74 with that add on…
But it Looks awesome …for printing so cool….I try it again but know I wait for 2.76 hope you creat a stabil add on …
Can’t wait.
Best regard
Very impressive! Thank you for sharing this amazing addon!!
Hey man! Really nice addon! One question. How can i preserve uvs from base object?
Hi, Great add-on from what I’ve seen here.
Although it doesn’t seem to work on my Blender 2.76. I was menagge to install it correctly but “Tessellete” and “Update” button are inactive and I don’t know if it is some kind of my mistake during instalation or it doesn’t work with blender 2.76 yet? Will be grateful for your response, pauli.na
Great work! Are you planning to add new feature to Tissue?
Thanks
Ok, let’s do a massive answer:
Right now Tessellation doesn’t support Materials or UV, sorry. These are some of the next coming features.
For the people that can’t click “Tessellate” or “Update”:
Tessellate works only if you select two mesh object, the first is the component and the second is the base mesh
Update works only if you select an object generated with Tessellate
Alessandro
What was component and the base mesh for :
https://www.co-de-it.com/wordpress/wp-content/uploads/2015/07/tissue_graphics.jpg
Hi, YOU are AWESOME, sir! Thank you very much! Would it be possible to have an option instead of quads to have something like 1×4 quads? … I mean… if u have curved mesh – consisting of 1 quad width – and you apply an pattern to everything is charming. But when you subdivide, I’d love to have the same “1 quad strip” applied but now its actually 2×2 quad to solve.. Could there be a way how to set something like lattice’s U:1 V:2 for a “thing” which you now call “quad”?
I love your Tissue add-on! Today I had the idea to animate each tile of a tessellation and tried making an object with a shape key and tessellating it. Unfortunately, when I made the tessellation the shape key data was not copied. I think it would be so cool if shape keys were supported in the tissue add-on, so I just stopped by to share this suggestion. Can you imagine all the tiles of some of these objects like pulsating and breathing… how trippy would that be? 😀
Hi/Bonjour! 😉
Great work. Thanks a lot. Ask for donations no? 😉
Just FIY: on debian 8.3 stable, after a fresh install, I had to install python3-numpy to make your addon work.
<3 !
(oups sorry for the typo it’s FYI)
I actually wanted to develop a brief remark to say thanks to you for some of the great secrets you are giving out at this website. My time consuming internet research has at the end of the day been paid with reputable know-how to write about with my classmates and friends. I ‘d tell you that many of us site visitors actually are truly blessed to live in a good site with very many brilliant professionals with insightful solutions. I feel truly privileged to have come across your webpage and look forward to many more enjoyable times reading here. Thank you once more for everything.
Hi Sam,
actually in that image I was testing Dual Meshes, in this case there is no component, but a simple combination of “edge split”, “smooth” and “wireframe” modifiers. Right now it is possible to do with component and Shape Keys.
Hi Pavel,
the feature that you suggest is interesting, but unfortunately not so easy to implement in mesh modelling, because in more generic shapes it is difficult to define well connected UV domains.
For this specific operation maybe I can suggest you to work with Array and Curve modifier: https://www.youtube.com/watch?v=uUc-mEdzZ48&feature=autoshare
Hi Mentalist,
you focused one of the features that I want to implement soon. Actually it is possible to di it now. You must create two different tessellation WITHOUT merge, then you can use the Shape Keys option: “Join as Shapes”. Maybe soon I’ll post a video tutorial for it.
Hi David, thanks!
Yes, in some OS’s you must install numpy.
Thank you very much Cristin. Your words encourage us to continue in our work! 🙂
very beautiful, thanks a lot
wish 3dsmax have this
Hi. I am new to this add-on. Have activated it in my Blender 2.8 preferences. However as all instructions are based on 2.7X with the Tissue tool appearing in the old Toolbar which is gone in 2.8 I am unable to find it in 2.8. Where is it? Gratefull for any help!
Besr regards
Hi Co-de-IT,this seems extremely interesting and exactly what I was looking for as I’m working on a cyberpunk game with a modern take on the aesthetic, any plan for supporting 2.8 ?
Would love a tutorial on how you achieved the look on the main presentation image, with the combination of “edge split”, “smooth” and “wireframe” modifiers.
Thanks a lot!
Actually just found more info and a different github link on your youtube, will give it a try ! thanks
Thank you for making this addon, it’s awesome! If you have the time and interest, I would appreciate it if you added an equivalent to the Array modifier’s Start Cap and End Cap functionality (although I guess it would need to be something like North, South, East, and West Caps!). I’m making chainmail armor and the edges currently have “open links” where the tessellation would otherwise continue. I would love to be able to specify another object with closed links to complete the pattern on those edges.
I know that this is a feature request on a tool that is already incredible and that you release for free, so no worries if you don’t have the time to work on it or just don’t think the idea worth pursuing. I really appreciate what you’ve already done with this tool and it’s already amazingly helpful.
This is genious! For me this is one of the best Blender add-ons ever created! Congratulation for your work!
This add-on seems amazing! Any chance this might be ported over to C4d aswell? I would definitely buy it if so!
Hi Jason,
thank you for your feedback. This is actually a very good point, and there are currently two possible solutions that you can use:
– In the merge options you can cap the open holes or bridge pairs of edges loops
– you can use multi-components in order to use different components along the borders
I hope that this helps!
Thank you Milan!
Hi Dagur, I’m sorry but I don’t use C4D 😛
Hey Alessandro.
I have a small questions.
I’m learning to use Tissue and ran into a wall I can’t jump over. I’m using your tutorial on Youtube, I understand everything in general, I made my version and I want to animate it, but I can’t find the checkbox animation. I found the Tissue Render Animation in the Tissue tab (N key), but when I run it, it renders the frames without animation. What am I doing wrong?
Best Regards
Lukasz
Hi, I would like to try this but I cannot find it in Blender 2.8 since the toolbar is gone. Where is it? Could the instructions be updated? Thanks!
It is easy to edit your result by changing the base mesh and pressing the update button. In addition, there are also a few options that you can tweak and refresh to get better results. After that, you can create the curves from the mesh using the Convert to Curve and use them to model beams or mullions to add more detail to your facade design.
Hi Lukasz,
the animate option is now the clock icon on the right of the “Refresh” bottom in the object data panel.
Hi Bathsheba, you may consider using the most recent version:
https://github.com/alessandro-zomparelli/tissue/tree/b290-dev
This is not an official release, but it should be much better than the version shipped with Blender at the moment 🙂
WOW! Thank you so much for this BEAUTIFUL addon!
I hope to do something worth seeiing (& hearing) with it,
i.e.an audio visualizer.